 how-to
How to Clean NES Cartridge Pins Safely (2026 Guide)
Table of Contents
- What You'll Need to Clean NES Cartridge Pins Safely
- How to Clean NES 72 Pin Connector (Step-by-Step)
- Best Isopropyl Alcohol Percentage for Electronics (and Why It Matters)
- How to Remove Rust from NES Pins (Without Damaging Them)
- Common Mistakes to Avoid When Cleaning NES Cartridges
- Long-Term Maintenance and Storage Tips for Your NES Collection
- Conclusion
- Frequently Asked Questions
Last Updated: September 24, 2026
What You'll Need to Clean NES Cartridge Pins Safely
Learning how to clean NES cartridge pins safely starts with the right supplies. The wrong tools can strip gold plating or bend fragile contact pins, turning a five-minute fix into a dead cartridge. This guide walks through every step, from disassembly to storage.
Gather these items before you start:
- Isopropyl alcohol at 90% concentration or higher
- Cotton swabs and a microfiber cloth
- A soft vinyl eraser for stubborn oxidation
- A security bit (3.8mm) to open the cartridge shell
- A small bowl for the alcohol
- Good lighting and a clean, flat workspace
How to Clean NES 72 Pin Connector (Step-by-Step)
Cleaning the 72-pin connector takes about 15 minutes and follows a fixed order: open the shell, clean the board's edge connector, clean the console-side slot if needed, dry fully, then test. Rushing any step risks bent pins, cracked plastic, or a cartridge that reads worse than before you started.
Disassembling the Cartridge Shell
The NES cartridge shell is held together by three screws, so you need a 3.8mm security bit to open it. A standard Phillips driver will cam out and strip the heads, which is the most common way collectors ruin a shell.
- Place the cartridge face-down on a soft cloth so the label is not scratched.
- Remove the three security screws and set them aside in a small dish.
- Lift the back half of the shell away slowly. Some shells have a light friction fit, so do not pry with metal.
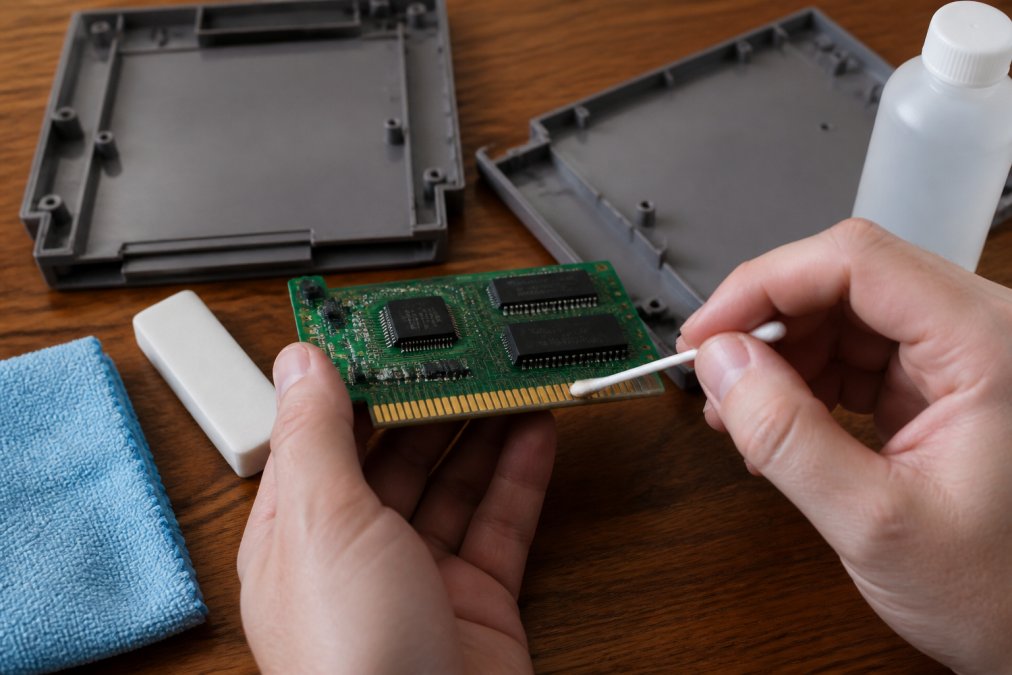
- Slide the circuit board out by the edges only. Never grab the gold pins or the chip legs.
Cleaning the 72-Pin Edge Connector and Contact Pins
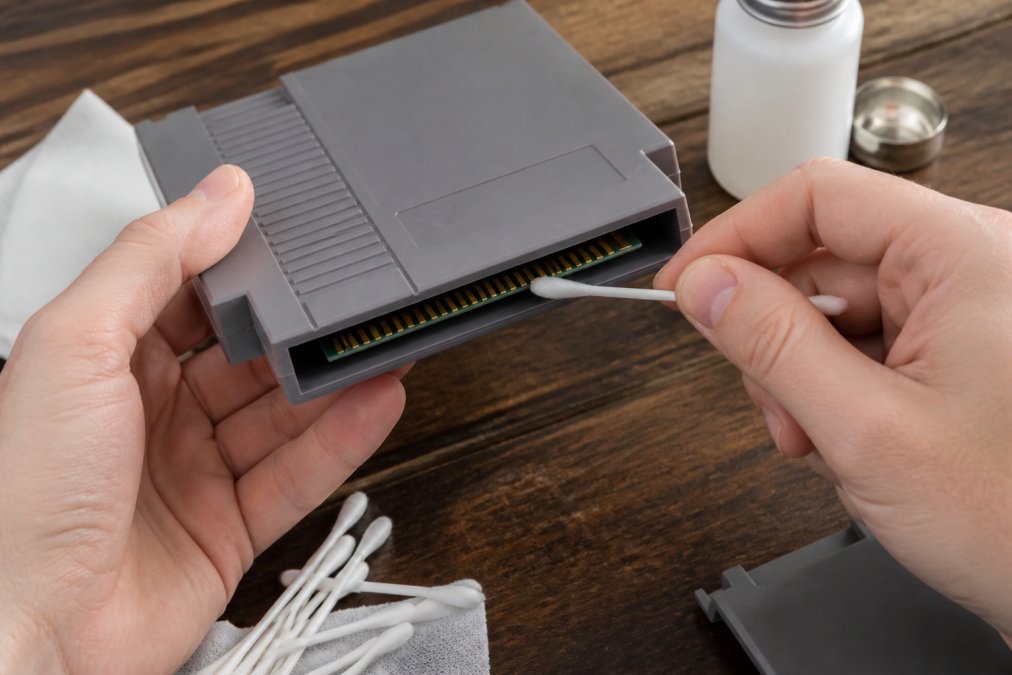
Dip a cotton swab in isopropyl alcohol and wipe each gold pin from the board edge toward the chip, one direction only. Do not scrub back and forth. Back-and-forth motion drags grime from the dirty lower edge up onto clean plating.
Drying and Reassembly
Let the board air-dry for at least 5 minutes, longer if you used a lot of alcohol. Alcohol evaporates quickly, but liquid trapped between the board and the shell can stay for hours. A common pattern is to reassemble too soon, trap moisture, and see new corrosion within weeks.
Before you close the shell:
- Confirm no cotton fibers are stuck to the pins.
- Confirm no eraser dust remains on the board.
- Confirm the board slides in straight, with the gold edge flush to the shell opening.
Post-Cleaning Test Protocol
Most guides stop at "put it in the console." That is not a test. A real test tells you whether the cleaning worked before you blame the console.
- Insert the cartridge and power on. If the game boots, let it run for 2-3 minutes and confirm it does not reset or glitch.
- If it does not boot, remove it, reinsert it, and try again two more times. NES slots are finicky, and a single failed attempt is not a diagnosis.
- If it still fails, try a cartridge you know works. If that also fails, the problem is the console slot, not your cleaning.
- If the known-good cartridge works and the cleaned one does not, inspect the pins under bright light for remaining film, bent pins, or corrosion that ate into the metal.
Best Isopropyl Alcohol Percentage for Electronics (and Why It Matters)
The best isopropyl alcohol percentage for electronics is 90% or higher. Lower concentrations contain more water, which can leave residue on the board and slow drying. High-percentage alcohol evaporates fast and carries away grime without leaving a film behind.
How to Use Isopropyl Alcohol Safely
- Work in a ventilated room away from open flames.
- Apply alcohol to the swab, not directly to the board.
- Keep the board dry of standing liquid.
- Let parts air-dry fully before reassembly.
How to Remove Rust from NES Pins (Without Damaging Them)
Removing rust from NES pins starts with telling corrosion apart from ordinary dirt. Dirt wipes away with alcohol. Corrosion looks different, and treating it like dirt will not fix the problem.
Distinguishing Corrosion from Dirt
Corrosion is a chemical breakdown of the metal itself, usually showing as green, white, or dark brown spots that sit on or under the surface. Dirt is surface grime that lifts off with a damp swab.
Look for these signs:
- Green or white powder on the pins points to oxidation
- Dark brown patches suggest rust from moisture exposure
- A dull, cloudy finish often means a thin oxidation layer
- Shiny gold under a grimy film is usually just dirt
Common Mistakes to Avoid When Cleaning NES Cartridges
Most cartridge damage comes from a handful of avoidable mistakes. Skipping any of these checks can cost you a game you cannot replace.
- Using abrasives like sandpaper or steel wool, which strip gold plating
- Bending pins by forcing the board back into the shell at an angle
- Skipping the dry time, which traps moisture inside the shell
- Over-wetting the board, which spreads grime into the connector slots
- Cleaning the console slot with metal tools, which bends the internal pins
- Ignoring pin alignment when reseating the board
Long-Term Maintenance and Storage Tips for Your NES Collection
A simple maintenance schedule keeps your games working for years. The goal is to stop grime and moisture before they reach the pins, and to know when to stop cleaning so you do not wear through the gold plating.
| Task | Frequency | Why It Matters |
|---|---|---|
| Wipe cartridge pins with alcohol | Every 6 months | Removes surface grime before it hardens |
| Visual corrosion check | Once a year | Catches oxidation before it pits the metal |
| Clean the console slot | Once a year | Stops grime transfer between games |
| Inspect storage conditions | Twice a year | Prevents moisture damage before it starts |
| Test-play each cartridge | Once a year | Confirms the game still reads before you need it |
How Humidity and Storage Affect Pin Longevity
Gold plating does not rust, but the nickel and copper underneath it does once the gold is worn or scratched. Humidity is the accelerator. When relative humidity stays above roughly 60%, thin moisture films form on exposed metal and oxidation begins. Below about 40%, metal stays dry and oxidation slows dramatically.
Visual Identification: Corrosion vs. Dirt
Most over-cleaning happens because people cannot tell dirt from corrosion. Dirt sits on top of the metal and wipes away. Corrosion is a chemical breakdown of the metal itself, and no amount of scrubbing reverses it.
Look for these signs before you clean:
- Green or white powder on the pins points to oxidation of the copper or nickel layer.
- Dark brown patches suggest rust from moisture exposure, often near the board edge.
- A dull, cloudy finish often means a thin oxidation layer, not dirt.
- Shiny gold under a grimy film is usually just dirt and will clean up easily.
- Pitting or dark spots that do not lift after an alcohol wipe are corrosion that has eaten into the metal.
When to Stop Cleaning
Gold plating is thin, measured in microinches, not millimeters. Every eraser pass and every abrasive wipe removes a little of it. A cartridge that reads fine does not need cleaning on a schedule; it needs cleaning when it stops reading reliably or when a visual check shows grime.
Conclusion
Keeping a retro collection alive takes a little patience and the right habits. Clean pins, dry storage, and a yearly checkup prevent most reading problems before they start.
Frequently Asked Questions
Is it safe to clean NES games with alcohol?
Yes, isopropyl alcohol is safe for cleaning NES cartridge pins when used correctly. Choose a concentration between 90% and 99% to avoid leaving residue. Apply it to a cotton swab or lint-free cloth, then gently wipe the contact pins. Avoid soaking the cartridge or using alcohol on plastic parts, as it can cause discoloration. Always let the pins dry completely before inserting the game into your console.
How do I clean a NES 72 pin connector?
To clean the 72-pin connector inside your NES console, first unplug the console and remove the top shell. Use a soft vinyl eraser to gently scrub the connector pins, then wipe away debris with a cotton swab dipped in isopropyl alcohol. For stubborn grime, apply a small amount of electronic cleaner. Avoid bending the pins, and ensure the connector is fully dry before reassembling and testing your games.
Can I use an eraser to clean NES cartridge pins?
Yes, a soft vinyl eraser works well for removing oxidation and light grime from NES cartridge pins. Use gentle strokes along the gold contacts, then brush away any eraser residue with a clean, dry cloth or compressed air. Avoid abrasive erasers like pencil erasers, which can scratch the pins and damage conductivity. Follow up with isopropyl alcohol for a thorough clean.
How do I remove oxidation or rust from NES game pins?
For oxidation, start with a soft vinyl eraser to gently rub the affected areas. If rust is present, apply a small amount of deoxidizer or white vinegar on a cotton swab, wipe the pins, then neutralize with isopropyl alcohol. Never use abrasive materials like sandpaper. After cleaning, dry the pins completely and test the cartridge. For severe rust, the cartridge may need professional repair or replacement.