 blog
blog
10 Essential Items for Retro Gaming Maintenance Kits
Table of Contents
- Why Every Retro Collector Needs a Maintenance Kit
- Precision Screwdriver Sets and Security Bits
- Isopropyl Alcohol and Contact Cleaner
- How to Clean Retro Game Cartridges
- Best Cleaning Solution for Game Console Pins
- Removing Corrosion from Battery Contacts
- Soldering Irons and Desoldering Equipment
- Anti-Static Protection and Work Mats
- Keeping Your Kit Ready
- Frequently Asked Questions
Last Updated: September 30, 2026
Why Every Retro Collector Needs a Maintenance Kit
A retro gaming maintenance kit is a set of cleaning and repair tools used to keep old consoles, cartridges, and controllers working properly. Dust, corrosion, and worn pins kill hardware faster than age does. Dust, corrosion, and worn pins kill hardware faster than age does.
Building a kit now saves you money later. It also protects the games you love.
The 10 items below cover everything from basic cleaning to full repairs. We'll show you what each tool does, how to use it, and where beginners should start. Most collectors can build a solid starter kit without spending much.
Precision Screwdriver Sets and Security Bits
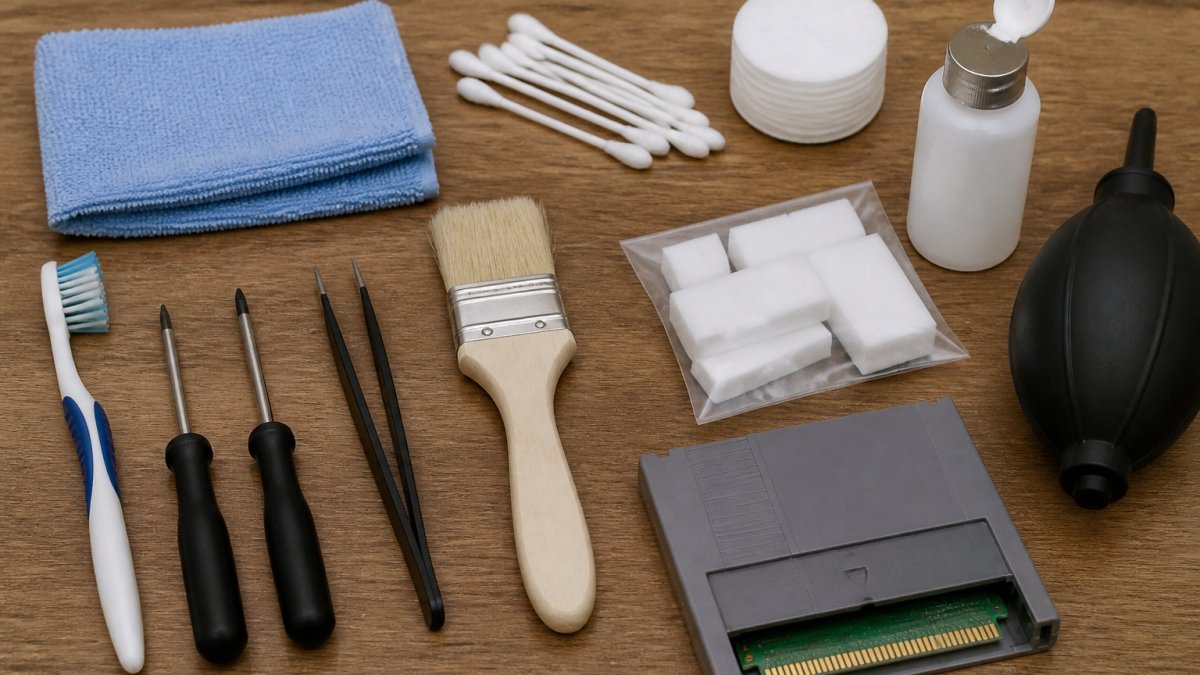
A precision screwdriver set is the foundation of any retro gaming maintenance kit. Consoles use tiny screws in odd shapes, and a standard screwdriver will strip them.
Look for a set with these bits:
- Phillips sizes 00, 0, and 1
- Flathead sizes 1.5mm to 3mm
- Tri-wing and Gamebit security bits
- Torx and hex bits
Security bits matter most. Nintendo and Sega used proprietary screws to keep players out. Without the right bit, you can't open the shell at all.
A common mistake is buying cheap drivers with soft metal tips. They round off after a few uses and damage screw heads. Spend a little more for hardened steel.
Isopropyl Alcohol and Contact Cleaner
Isopropyl alcohol is the workhorse of console cleaning. It dissolves dust, grime, and sticker residue without harming plastic or circuit boards.
Buy 91% or higher.
Keep these supplies on hand too:
- Lint-free microfiber cloths
- Cotton swabs for tight spaces
- A small brush for dust in vents
How to Clean Retro Game Cartridges
Cleaning a retro game cartridge takes about five minutes and two tools: isopropyl alcohol and a cotton swab. This simple routine fixes most "dead" games that just have dirty pins.
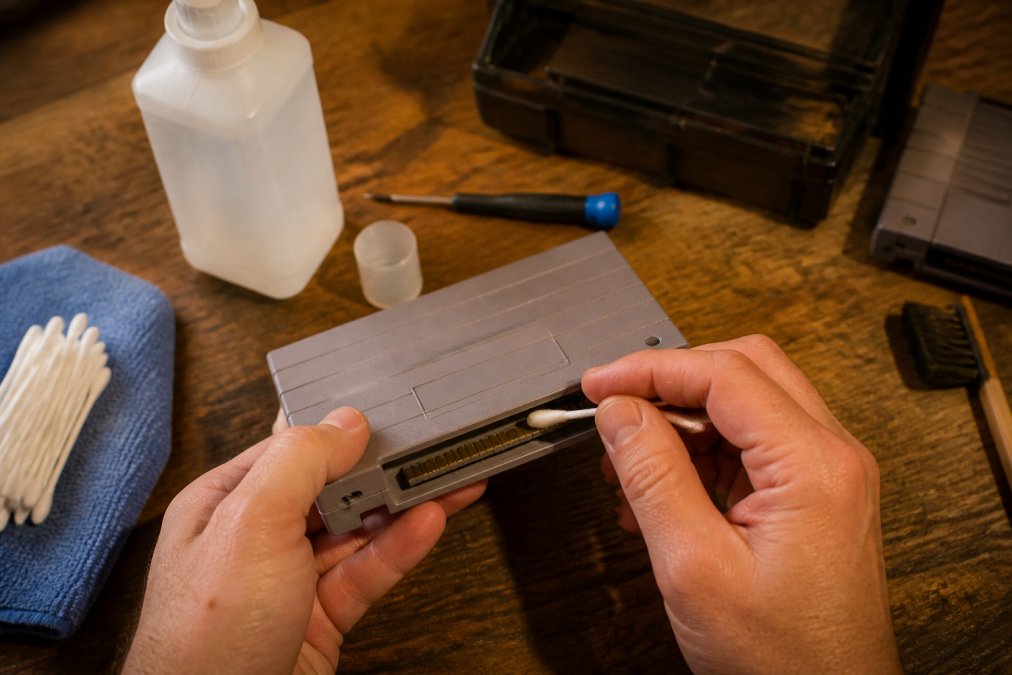
Follow these steps:
- Remove the cartridge from the console.
- Dip a cotton swab in isopropyl alcohol.
- Rub the gold pins gently, side to side.
- Let the pins air dry for a minute.
- Test the game in your console.
Best Cleaning Solution for Game Console Pins
The best cleaning solution for game console pins is 91% isopropyl alcohol applied with a cotton swab or a cleaning card. It removes oxidation safely and dries in seconds.
Watch for these signs that pins need cleaning:
- Games that only work after you wiggle them
- Random freezing or glitches
- A console that won't read any cartridge
Removing Corrosion from Battery Contacts
Corrosion on battery contacts comes from old, leaking batteries. It shows up as white crust or green-blue powder on the metal tabs.
Here's how to remove it safely:
- Put on nitrile gloves and eye protection.
- Remove the batteries and set them aside for proper disposal.
- Mix a small paste of baking soda and water.
- Apply it with a cotton swab to the corroded area.
- Wipe clean with a dry cloth.
- Finish with isopropyl alcohol.
Soldering Irons and Desoldering Equipment
A soldering iron lets you replace dead capacitors, fix cracked joints, and swap save batteries. This is where retro gaming maintenance moves from cleaning to real repair, and where a cheap tool does the most damage.
Choosing an Iron
Beginners should start with a temperature-controlled station, not a fixed-wattage pencil iron. Fixed-temperature models run too hot and lift circuit board pads. Look for a station with an adjustable dial or digital readout that covers roughly 200°C to 450°C (about 390°F to 840°F).
What Else Belongs in the Kit
- Rosin-core solder, thin gauge
- A desoldering pump (solder sucker) for clearing through-hole joints
- Soldering wick (desoldering braid) for soaking up the last bits of solder
- Rosin flux, in a pen or paste form, to help solder flow and to re-tin oxidized pads
- A brass wool tip cleaner, better than a wet sponge because it doesn't thermal-shock the tip
- A silicone soldering mat to protect the bench
- Tweezers for holding small components
Desoldering Without Lifting Pads
Desoldering pumps clear old solder from joints. Soldering wick soaks up the last bits. Use both for clean results, and add a touch of fresh solder to an old joint before you try to remove it, the fresh solder mixes with the old and lowers its melting point.
Tip Care and Tool Maintenance
Soldering tips are consumable, but they last far longer with three habits:
- Tin the tip before and after every session. A thin coat of solder protects the plating from oxidation.
- Never file or sand a tip. The iron plating is what conducts heat; once it's gone, the tip is dead.
- Turn the station off when you step away. Idle tips at full temperature oxidize in minutes.
Iron vs. Hot Air: A Quick Rule
If the part has legs that poke through the board, use the iron. Most retro console repairs, capacitors, save batteries, cartridge slots, are through-hole jobs, so the iron earns its place in the kit first.
Anti-Static Protection and Work Mats
Static electricity can destroy chips inside a console without any visible sign. A zap you can't feel, well under the threshold of human perception, is enough to damage a CMOS gate or a RAM chip. The failure may not show up for weeks, which is why ESD protection is the least glamorous and most important habit in the kit.
How Grounding Actually Works
An anti-static wrist strap is a resistor in a cord. The resistor, typically around 1 megohm, lets a slow trickle of charge drain from your body to ground while limiting current if you ever touch something live. That's why you never wear a plain wire strap: the resistor is the safety feature, not a cost-cutting shortcut.
What a Basic Setup Includes
- An anti-static wrist strap with a 1 megohm resistor and a coiled cord
- A grounding mat or a silicone work mat with a snap for the strap
- A grounded outlet or a verified ground point
- A clean, well-lit workspace
Silicone mats keep small screws and springs from rolling away. They also protect your table from solder burns and alcohol spills. Anti-static mats add the grounding layer on top of that.
The Beginner Mistake: Grounding to the Console
Wear the wrist strap any time you open a console. Clip it to a grounded metal surface, a properly grounded outlet's screw, a grounding block, or a mat that's bonded to ground, not to the console itself. Clipping to the console does nothing useful and can create a path you don't want if the console is ever plugged in.
Verifying Your Setup
A cheap outlet tester, the kind with three lights, tells you whether the outlet you're using is actually grounded. Many older homes have ungrounded outlets, and a wrist strap clipped to an ungrounded screw is just jewelry. If you can't verify ground, work on a hard, non-carpeted surface, avoid synthetic clothing, and touch a grounded metal object before handling boards.
Beyond the Strap: Handling Habits
- Hold boards by the edges. Fingers on traces and pins are the most common source of ESD damage.
- Keep parts in anti-static bags when they're not on the mat. Keep parts in anti-static bags when they're not on the mat.
- Avoid working on carpet, in socks, or in dry winter air without a humidifier. Low humidity is when static builds fastest.
- Discharge yourself before you sit down, even if you're wearing the strap.
Keeping Your Kit Ready
A good kit only helps if it's organized and clean. Wipe down your tools after each job. Replace worn swabs and dull bits. Store liquids upright and sealed.
Check your kit before every project:
- Are your driver tips still sharp?
- Is your alcohol capped and full?
- Is your wrist strap clipped and working?
Frequently Asked Questions
What tools are needed to clean retro game cartridges?
You need a precision screwdriver to open the cartridge shell, isopropyl alcohol (90% or higher), cotton swabs, a microfiber cloth, and a soft eraser for stubborn dirt. For deeper cleaning, a contact cleaner spray helps remove oxidation from the pins.
How do you safely open vintage game consoles for cleaning?
Use a precision screwdriver set with security bits that match your console's screws. Work on an anti-static mat and wear an anti-static wrist strap. Take photos as you disassemble so you can reassemble correctly. Avoid forcing any components and keep screws organized in a magnetic tray or small cups.
What is the best way to remove oxidation from console pins?
Start with isopropyl alcohol and a cotton swab. For heavier oxidation, use a contact cleaner spray or a soft pencil eraser gently rubbed along the pins. Avoid abrasive materials like sandpaper, which can strip the gold plating.
How often should you perform maintenance on retro gaming hardware?
Clean your cartridges and console pins every few months, or whenever you notice glitchy graphics or loading issues. Dust the console exterior monthly with compressed air and a microfiber cloth. Regular maintenance prevents bigger problems and keeps your collection running smoothly.
Retro gaming maintenance takes patience, but the payoff is real. Keeping old hardware alive means more game nights and fewer dead consoles. Retroaholics stocks tested consoles, authentic games, and collectibles, and our trade-in program helps you turn duplicates into new finds. Stop by our Canton store to see the collection in person and meet other local collectors. Get started with Retroaholics and keep your childhood games running for years.